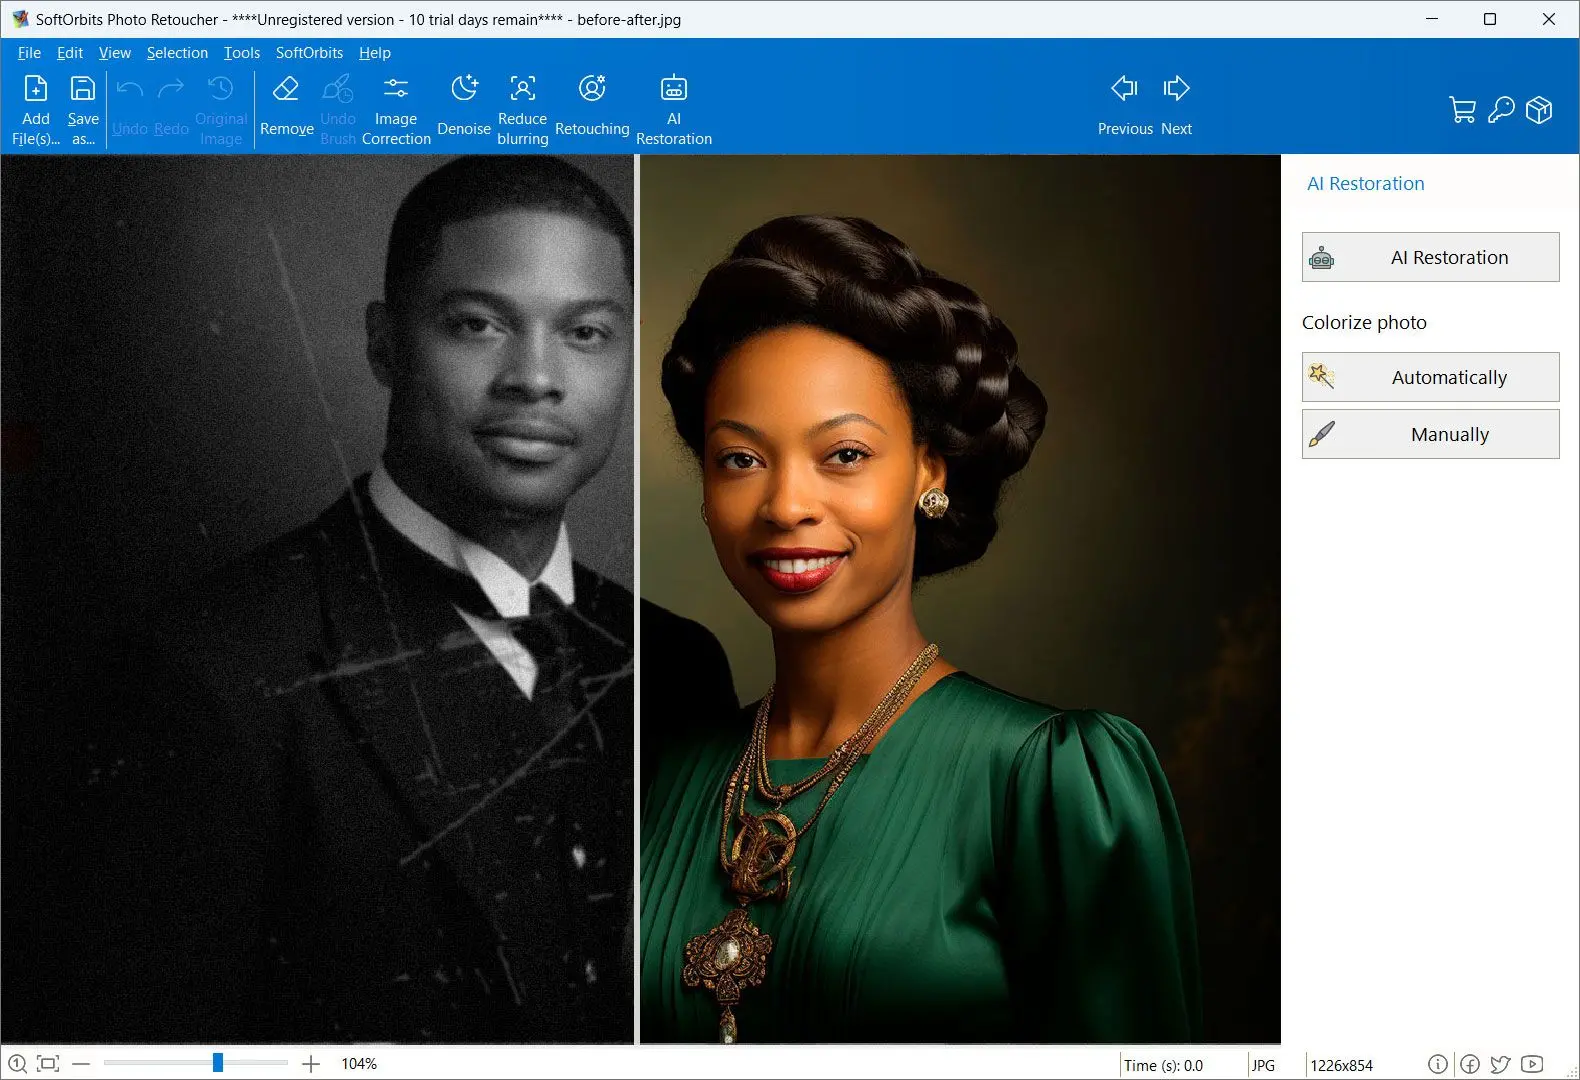
Way #2: Using Photoshop
Create a New Layer
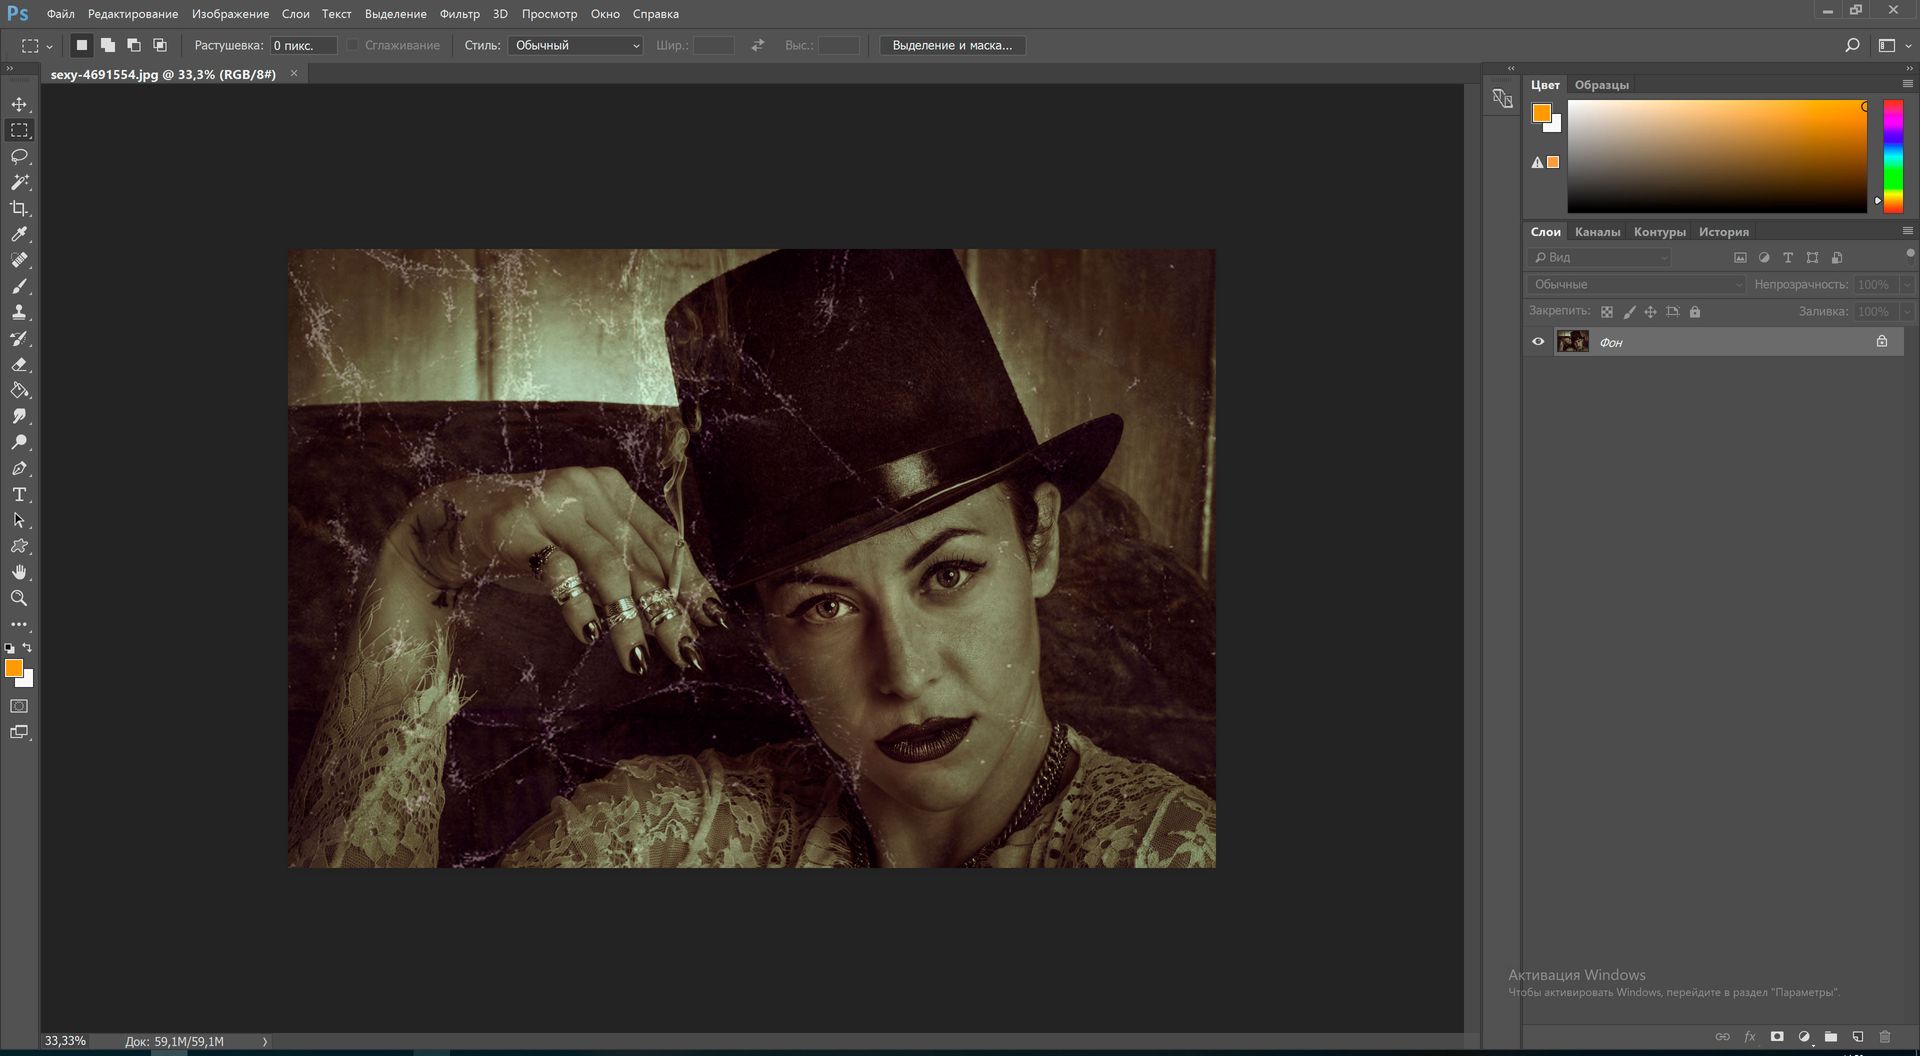
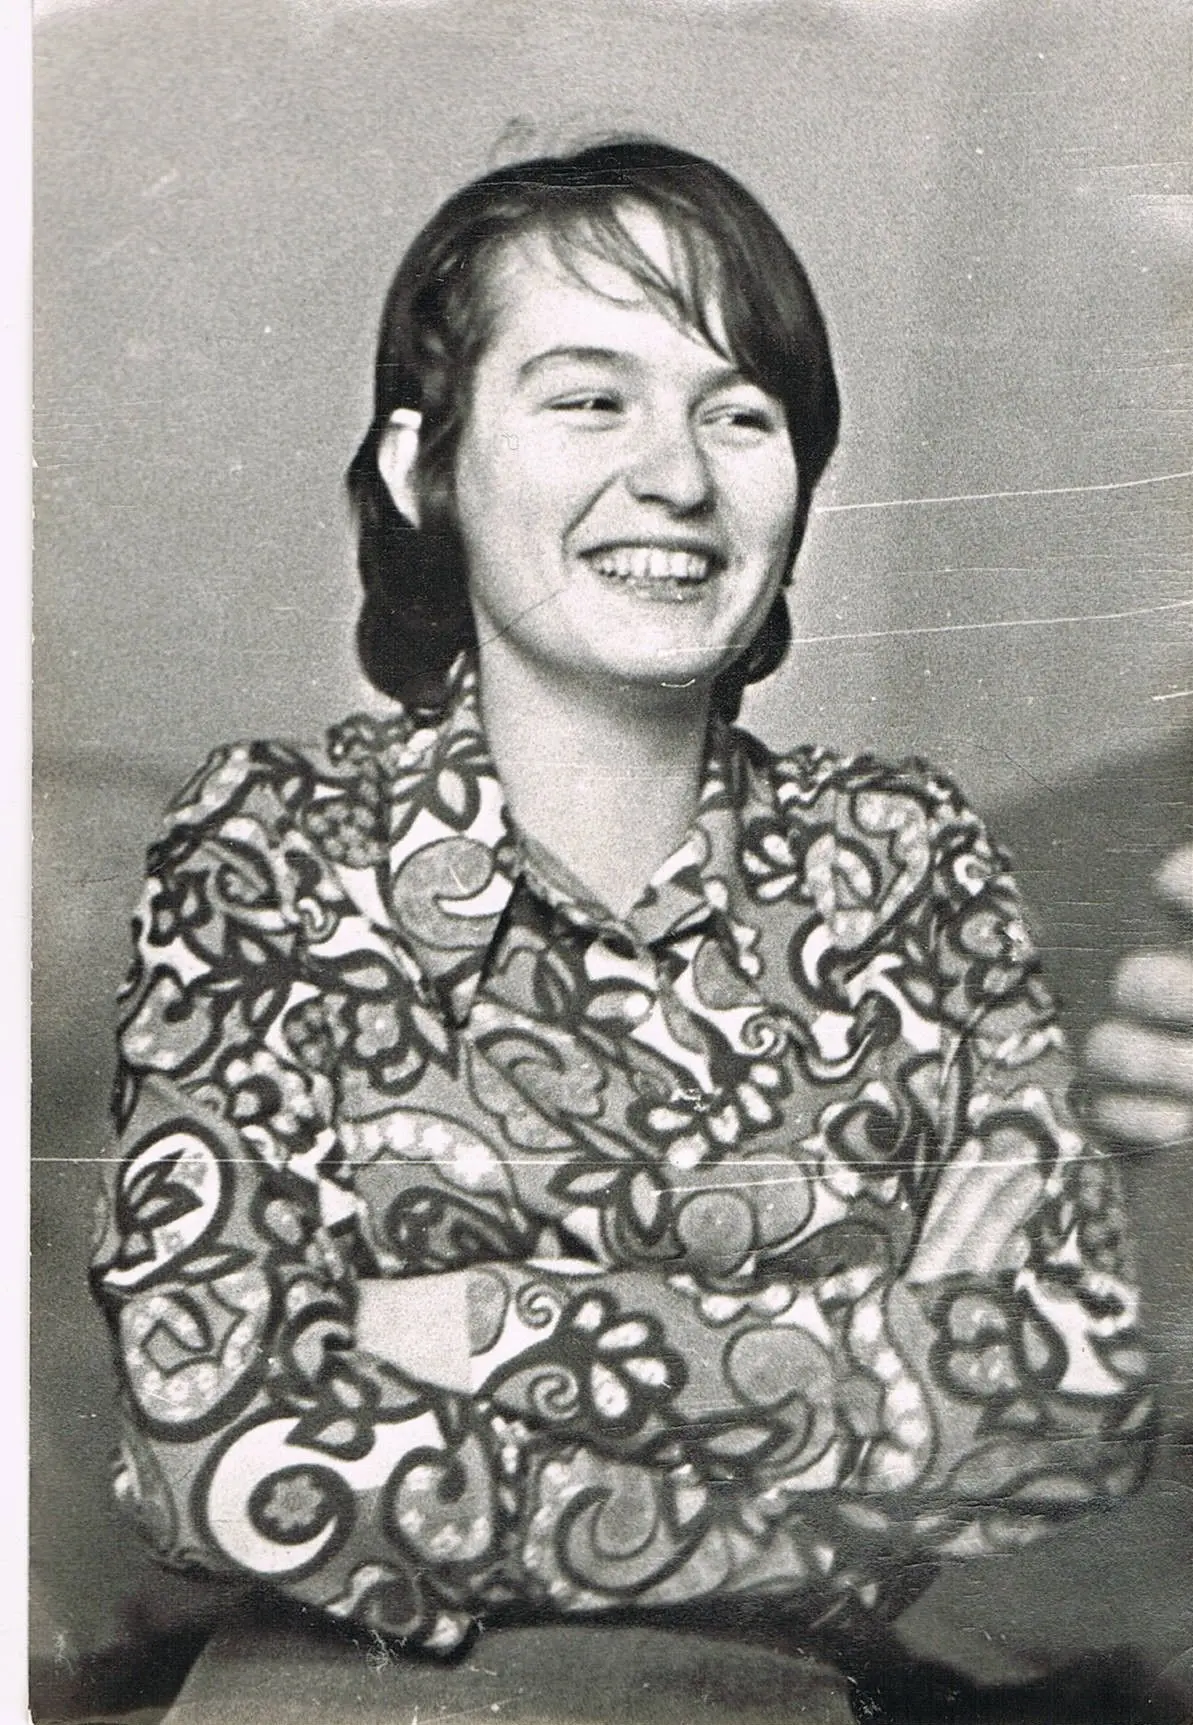
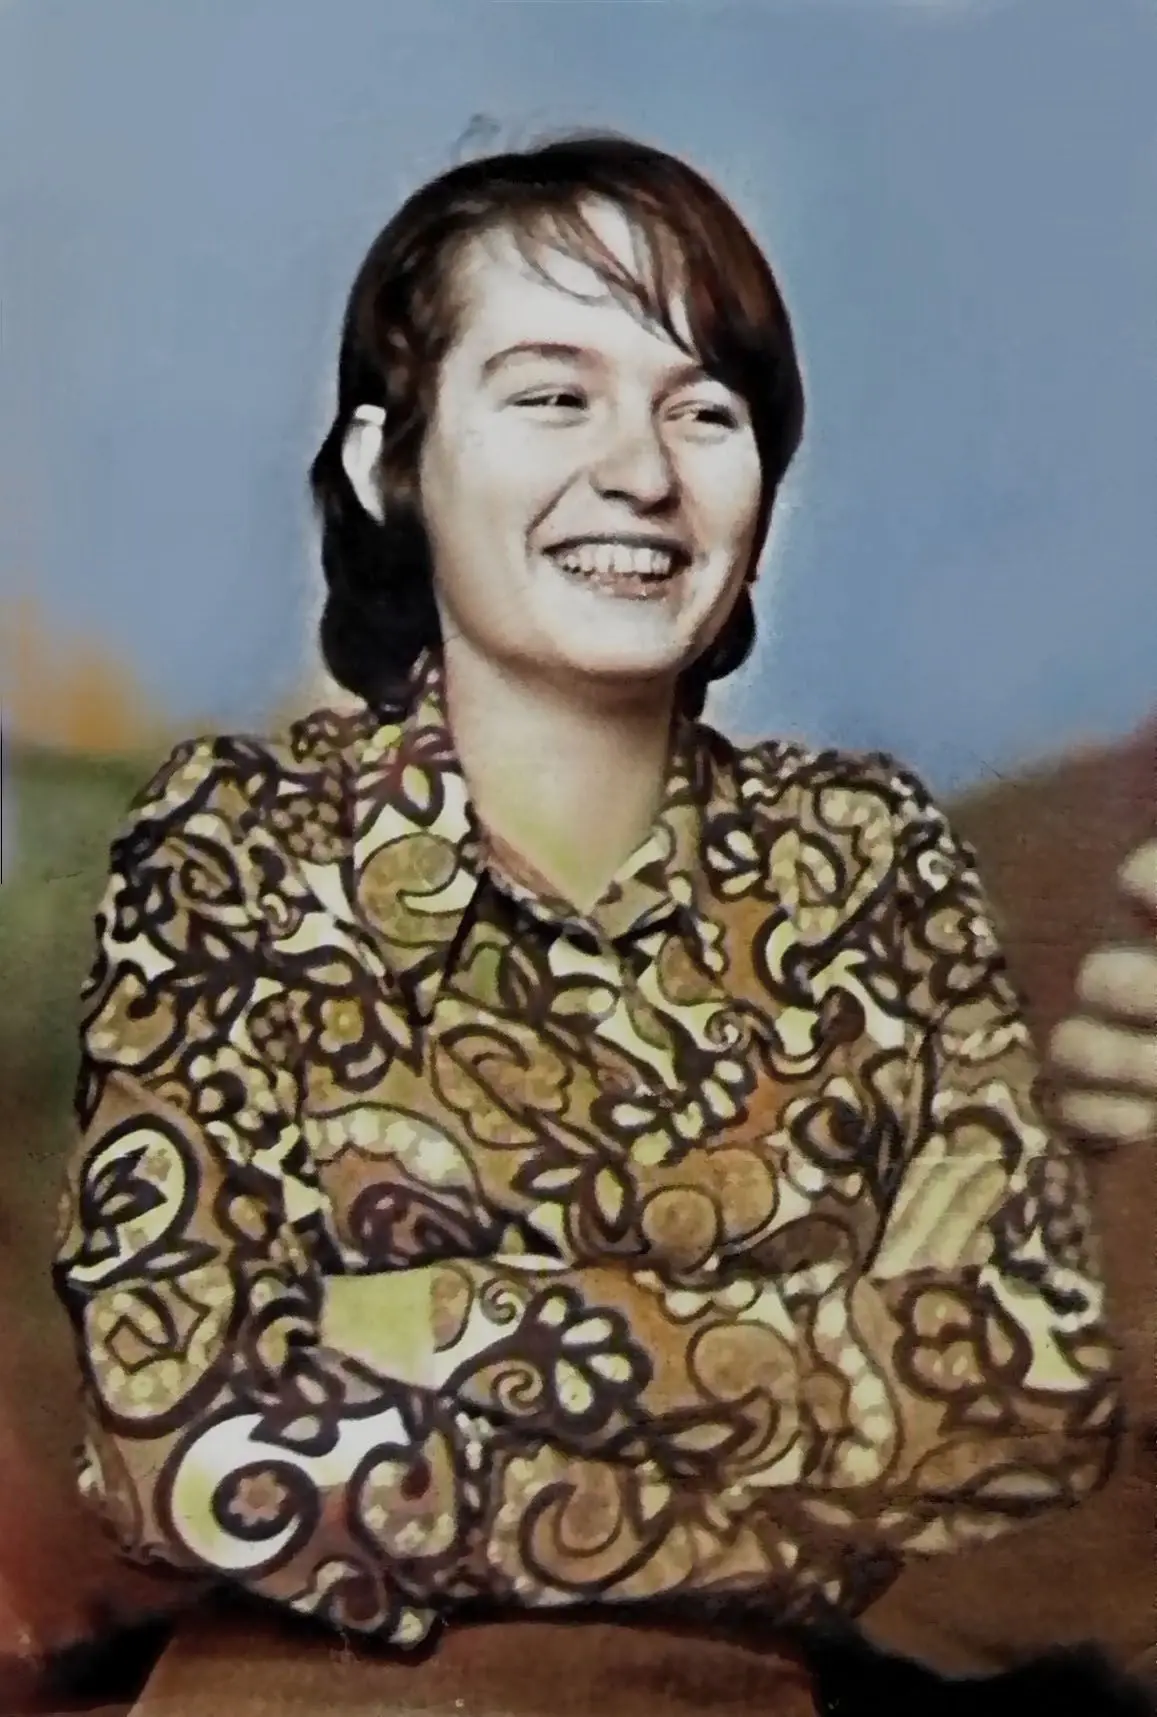
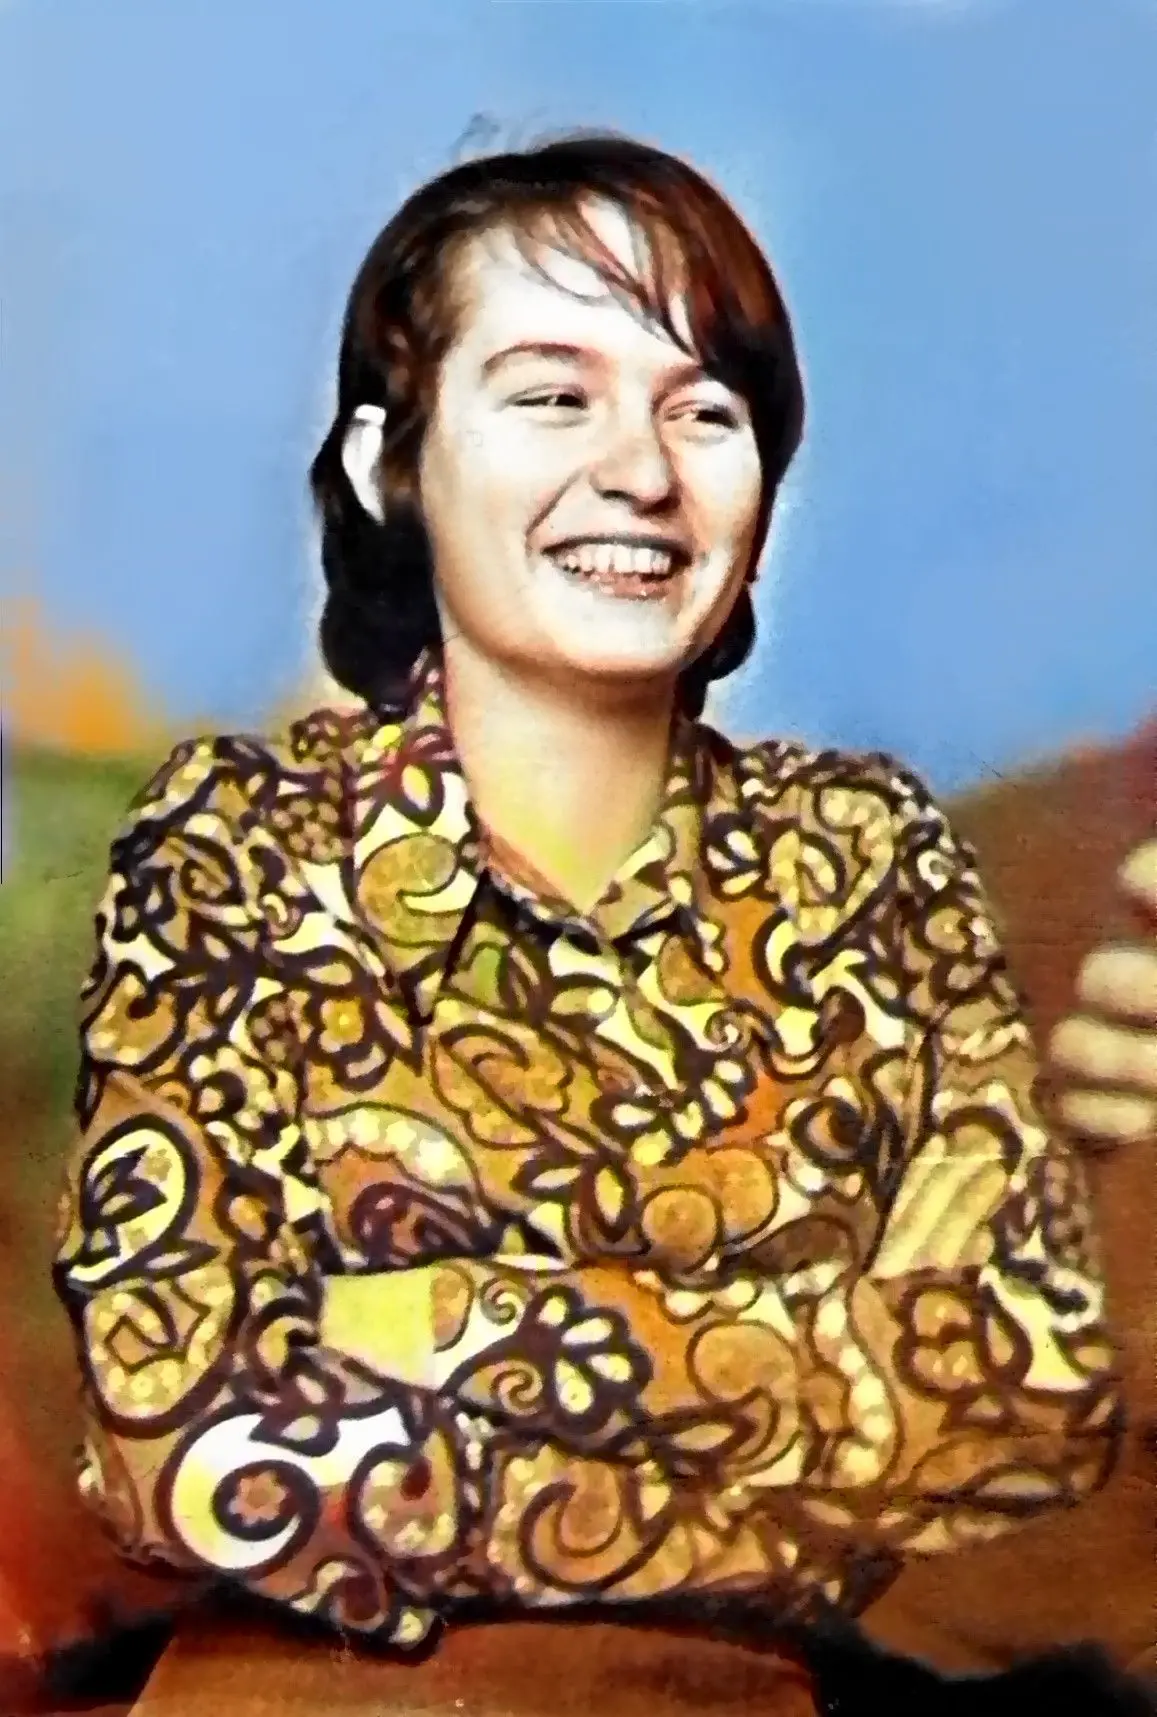
The first crucial step that most photo editors miss is creating a new layer from the source image. You need it to retain the original copy of the image should anything go wrong. Next, you can use the layers masks to edit and add the colors you want to every part of the photo.
Remove Scratches and Dust
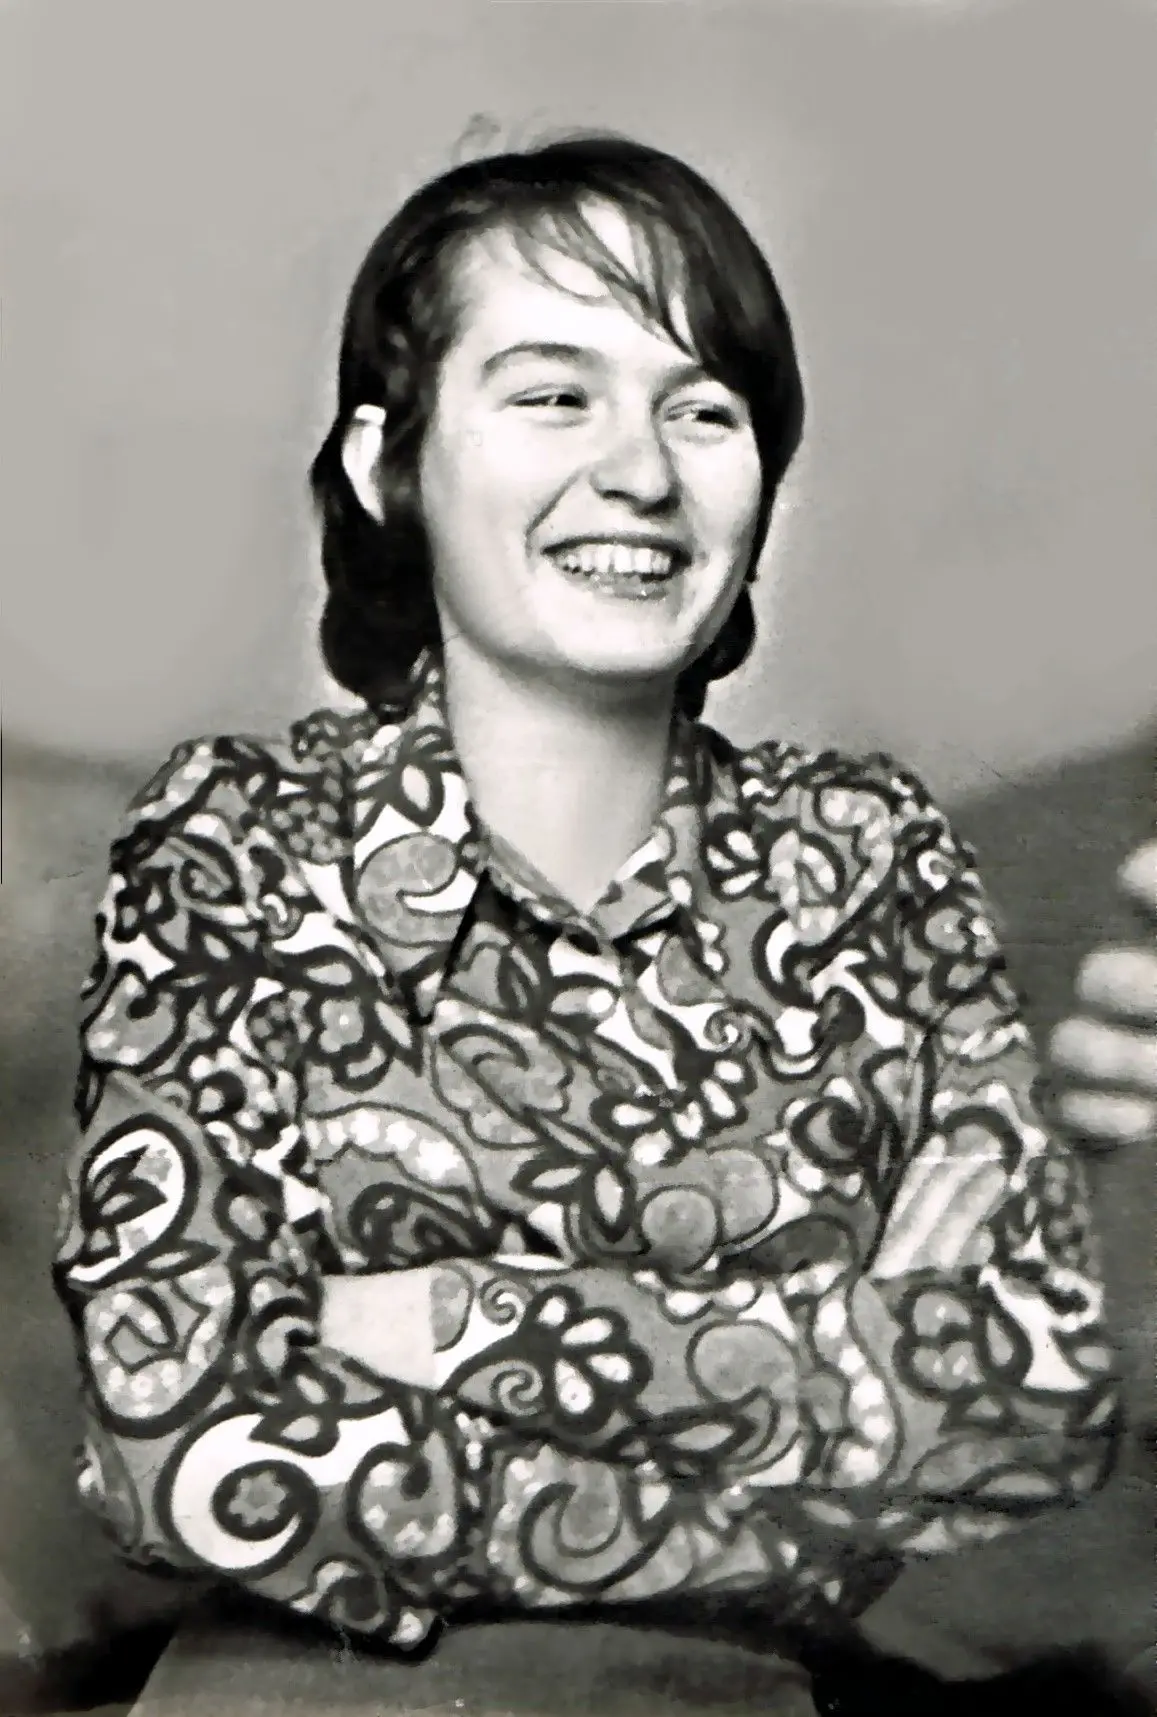
When working on an old image, the next step will be cleaning it up. You can attain the best results in this step by initiating simple adjustments to the Threshold and Radius levels until you clear out the dots. If this method does not yield the desired results, you can create a layer mask to paint over at any point with flaws.
Adjust Contrast and Neutralize the Color
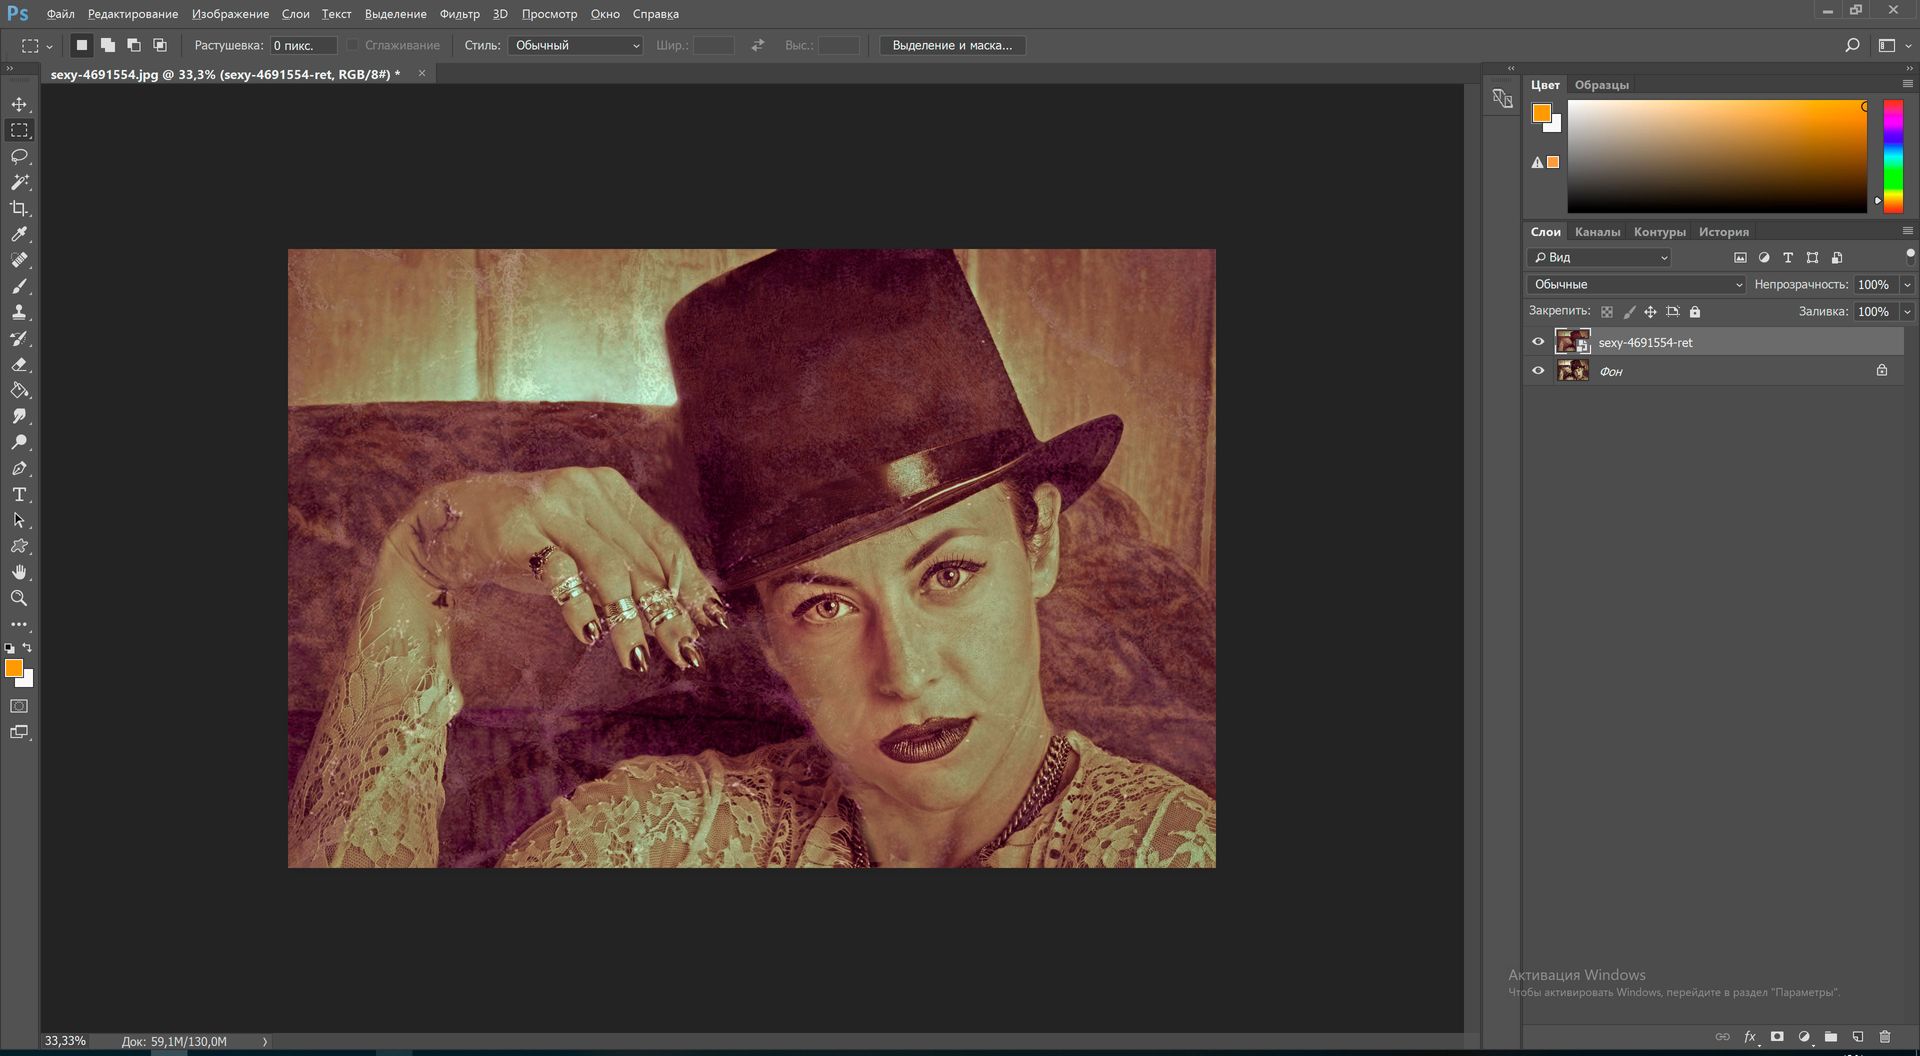
If the photo you want to edit features the sepia tone, you can add the dark tone to neutralize it. Next, you will use the levels adjustment layer to edit the contrast.
You can also add color to the photo using the Curve adjustment option. In this case, you will choose the color you want to adjust by adjusting the yellow, magenta, and cyan curves.
How good is Adobe Phoshop
Pros:
Versatile and suitable for various tasks.
Offers advanced features like layers and filters.
Widely used by professionals.
Cons:
Steep learning curve.
Subscription cost.
No built-in AI to Color B&W Photos
