Looking for ways to convert photos to line art? Here's a guide for you

  1. 1️⃣ Add Your Photo.
  2. 2️⃣ Customize the Drawing Effect.
  3. 3️⃣ Save Your Artwork.
 Download for Free
Eugene - CEO at SoftOrbits, Candidate of Technical Sciences, has more than 16 years of expertise in software development and testing.. Developed by a team of specialists, including engineer Julia, PhD candidate Paul. 130+ hours of work went into this page.
📅 Last updated on:  2024-12-08

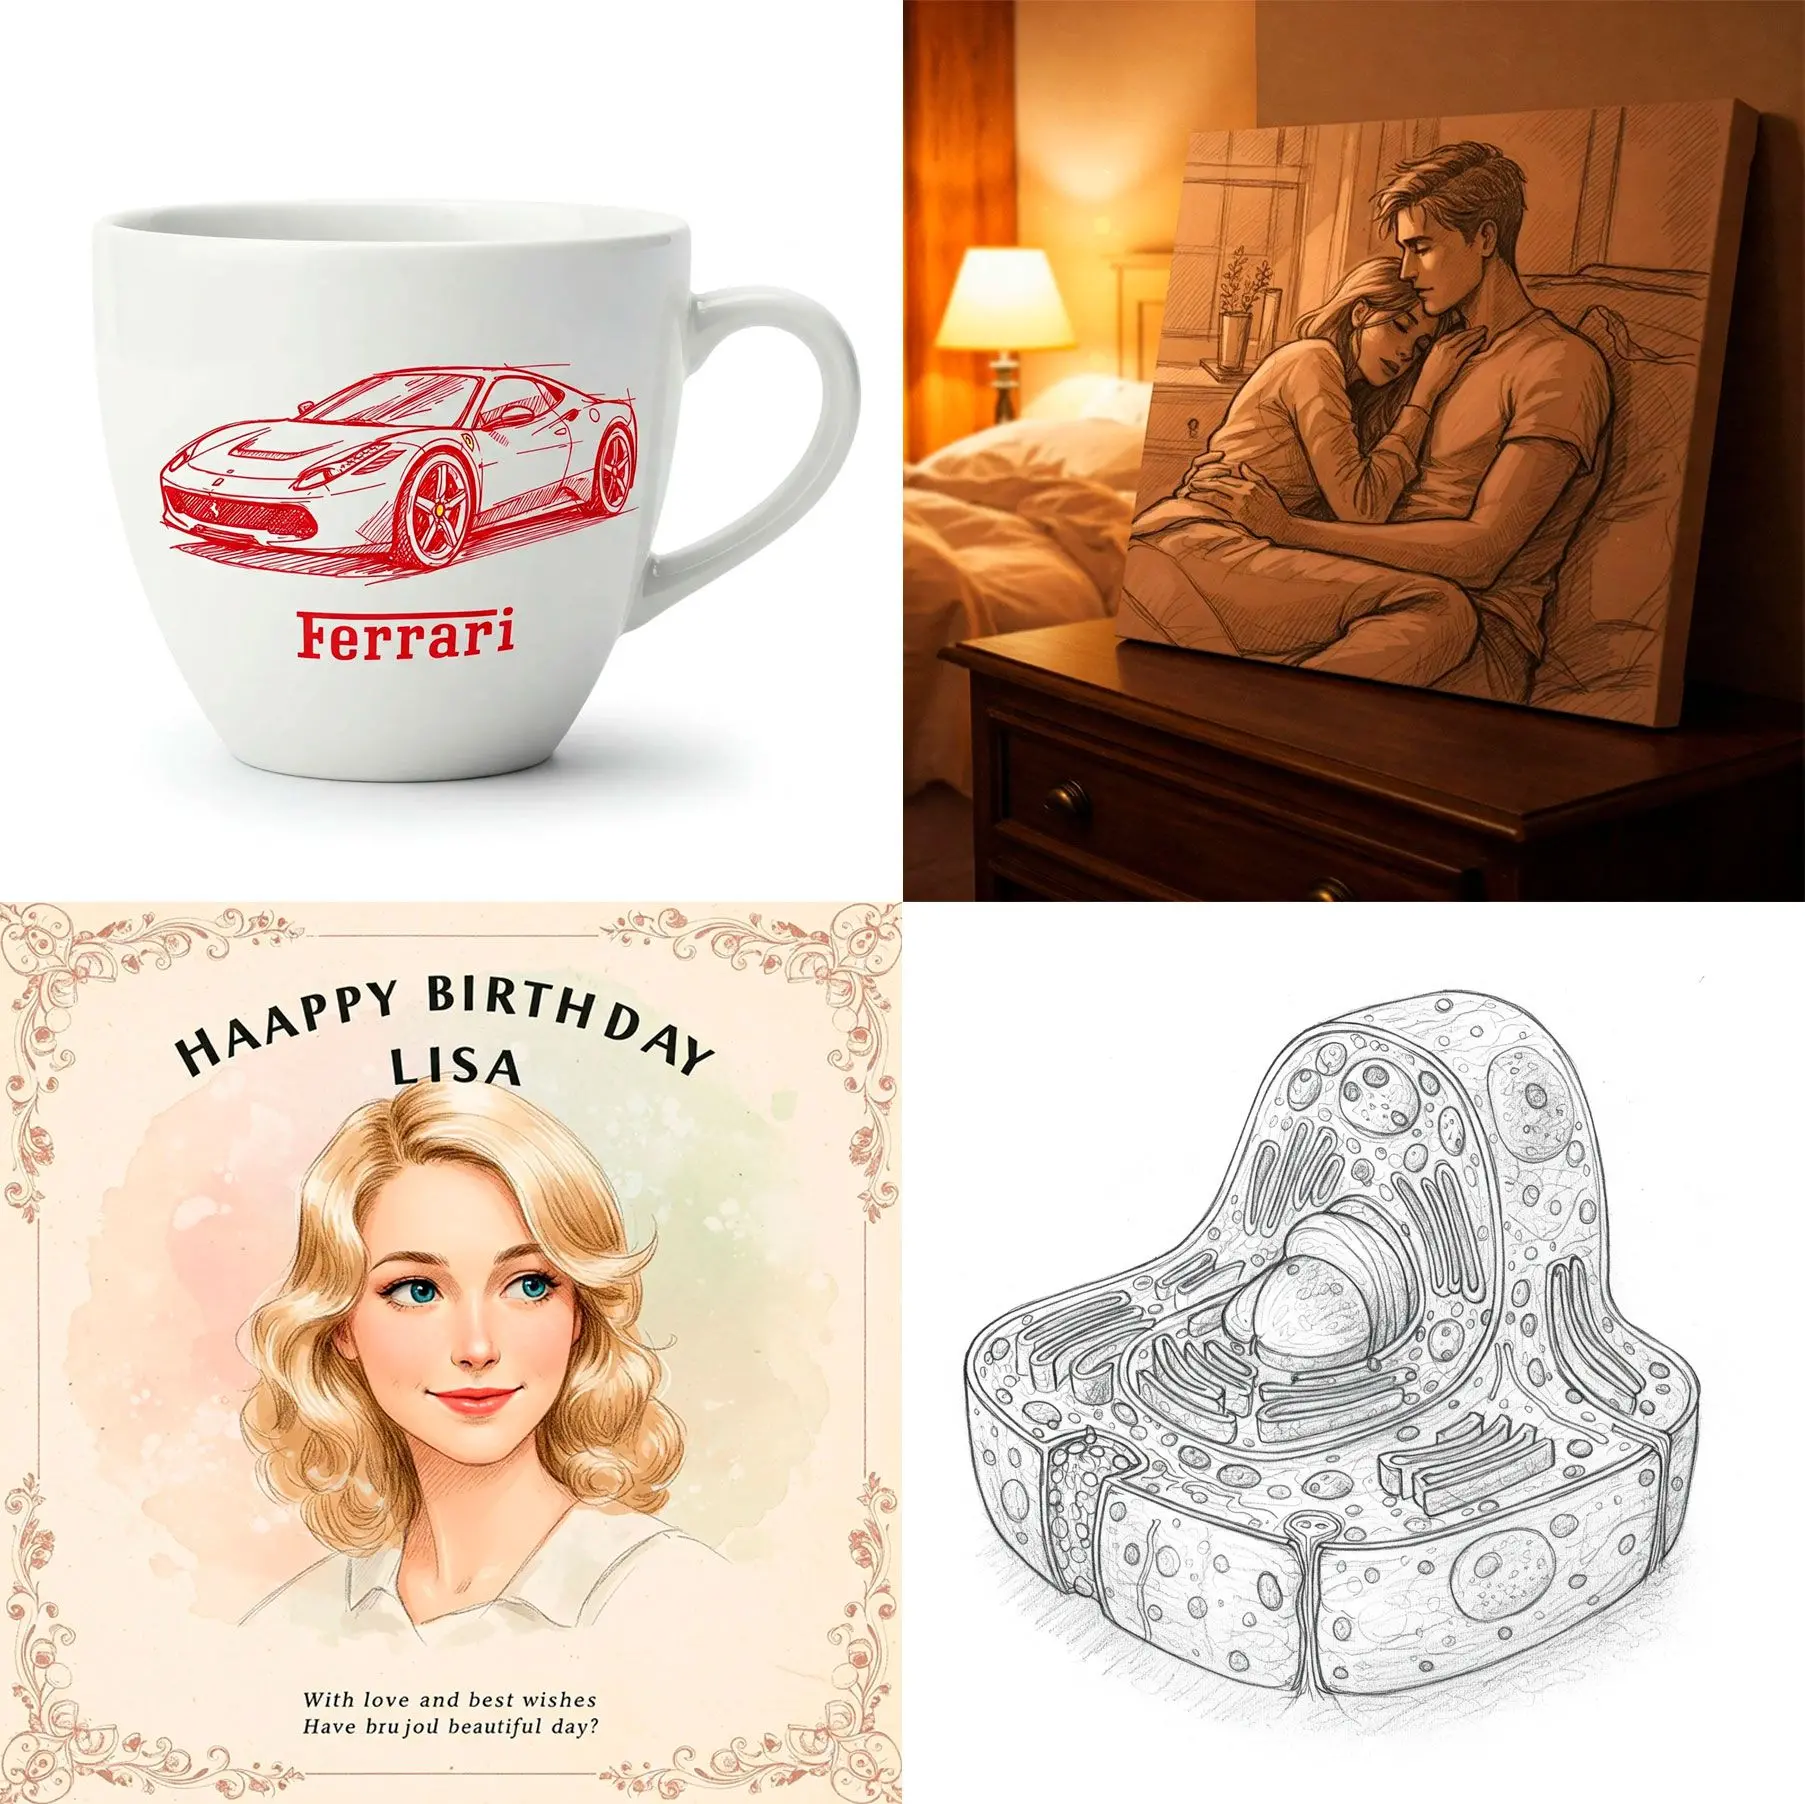
Being a photographer has its perks. You always have amazing photos that you can gift to your family and friends, and create photo albums and printed coffee mugs too.
But sometimes you need to add a special touch!
You can change a normal portrait into a beautiful sketch!

Girl photo..
Girl photo converted into line drawing..

Many artists throughout history have used line drawing as a powerful tool for artistic expression, including Leonardo da Vinci, Albrecht Dürer, Edgar Degas, Vincent van Gogh, Henri Matisse, Gustave Courbet, and Pablo Picasso.
Knowing how to use a convert photo to line drawing app is the key, and I will talk about such programs and the steps you need to know. I'll also show you a few examples and smartphone apps.
Let's go!

Way #1: Sketch Drawer: Line Art Software

SoftOrbits offers a software tool for converting photos into line drawings.

Photo to line drawing app converter free software..

The software offers a variety of conversion styles, presets, and effects, allowing for diverse artistic outcomes.
The software automatically analyzes the image, reducing the need for manual adjustments. It can also create various artistic effects, such as stencils and anime-style drawings.
Various options exist to get the desired look, but the steps are similar.

Examples

I will show you real examples I've got using Sketch Drawer. You can use this as a reference to begin your editing!

Animal Line Drawing

Because you need to preserve the animal's contour and details like fur, eyes, and the surrounding grass and trees, you can use the Detailed conversion style.
For shading, you should be careful not to increase the hatching and stroke thickness so much that it becomes distracting from the animal's outline. With some trial and error, finding the perfect balance between lines and shading will become easy!

Dog photo..
Dog photo line drawing..

Bird Line Drawing

Bird photos are always special because of the unique shape of the wings and the brilliant colors of each feather.
That's why it is best to use the Classic or Realistic style along with the Colour Drawing preset.
This will help you create a natural-looking border without random shading and preserve the colors of the bird's feathers!
If you want to capture a wide range of detail in the feathers and emphasize the changing light, you can go with Realistic. With Classic, you'll get a minimalist line drawing that looks more like an actual hand-drawn without capturing all the light and shadows unless you enable hatching.
Bird photo line drawing..

Tree Line Drawing

Trees have the highest detail and texture, especially because of the small leaves, flowers, and branches. Creating a tree drawing from an image will require you to preserve all those details, which means using the Realistic style of Detailed style would be better.
Tree photo into line drawing..

You can also choose the Pen preset, as the fine lines of a pen stroke will ensure that all the leaves look distinct from each other, and there's no blurriness or smudging!

Best Presets to Use

Now I can show you my favorit preset options!

Schematic Preset

Schematic line drawing preset for girl photo..

As the name suggests, the schematic preset gives you a simple black-and-white look. It is perfect for creating a drawing appearance and works well for portraits!
While you will see less hatching and shading in this, the schematic preset renders soft, natural borders. So, you can use this as a reference to practice your sketching skills or take a print for your scrapbook.

Simple Drawing Preset

Simple line drawing preset for girl photo..

The simple preset also gives a black-and-white result, but unlike Light, the final result looks like a sketch width a white background made from a paintbrush rather than a pencil. This preset is great for creating a line drawing with mild shading and smudging, as usually happens when using watercolors.

Felt Pen Preset

Felt pen preset for girl photo line art..

This one is very straightforward. The Felt Pen preset uses felt pen strokes instead of just penciled lines. This style highlights the borders, giving you a clean lines without much hatching or shading like in the Simple preset!

Why create line art from photos?

Converting photos into line drawings can enhance their artistic appeal and create unique visual effects. You can use it as a gift or for practicing your own hand drawing skills [3], or to create an art diary, frame, t-shirts or even for illustrating a book.
T-shirt with line drawing of budha..

Line drawings have a wide range of applications:

✔️ Art and Design

Creating illustrations, concept art, and graphic design elements.

✔️ Engineering

Technical drawings, blueprints, and diagrams.

✔️ Architecture

Floor plans, elevations, and architectural renderings.

✔️ Animation

Character design, storyboarding, and background art.

Line art or line drawing is any image that consists of distinct straight lines or curved lines placed against a background (usually plain). Two-dimensional or three-dimensional objects are often represented through shade (darkness) or hue (color). Line art can use lines of different colors, although line art is usually monochromatic.

Wikipedia

How to make a line drawing from a photo: Step-by-step tutorial

So, I will list things you need to do to use the software and the different styles and dozens of presets inside it. Don't worry; I'll show more details about the conversion styles in the next section, with examples!

Add File

On opening the program, you will see an option Add File . Use this to upload your image by browsing through your files or simply dragging and dropping.

Add files..

Select Style

Sketch Drawer has a toolbox on the top right side, where you can choose one of the three options under Style - Realistic, Classic or Detailed Sketch.

Line drawing styles..

Each of the three styles has a distinct look, and you should try them out to see which works best. To make things easier, this line art maker app shows a preview of your final beautiful image, so you can try every option in a second and get a sample of the final result!

Realistic style captures the overall details and adds shading to the final result. It works well for close-up portrait shots and still-life images.

Detailed Sketch, on the other hand, works well when you want to emphasize a wide range of detail and create a carbon copy of the image. While good for landscape images, it might not be suitable for portrait shots, which look better when subtle.

The Classic option has a minimalist appearance, with soft strokes and less shading. You should use this if you want a simple natural-looking result and not something a perfect computer creates!

Select Preset

The style decides the overall look of the resulting image – whether it will be detailed or realistic, or classic minimal.

On the other hand, the Preset decides the appearance itself – whether there will be any color, the amount of shading involved, whether the look will be like watercolors or pencil drawing, etc.

The Preset option can be found on the right side, below the Style option. It gives multiple presets like Felt tip pen, pop art, low contrast, high contrast, etc. You will get a preview of each one as you hover with your mouse pointer over it and move around the list!

 presets..

We'll discuss the various presets and what they do once we go through all the steps.

Adjust settings

You are half done! After I choose the overall style and the preset to be applied, you can fine-tune all the settings using three options – Contour, Hatching and Colourization.

A box below the Preset option allows you to enable the above three options.

Take a look on them:

Contour Settings

On enabling the Contour settings, you can control edge strength, smudging, and even the thickness and intensity of the strokes used. By increasing the edge strength, it will emphasize the outlines of the photo.

It would help if you tried adjusting the stroke thickness, too, so that you can get bold lines that highlight the outlines of your subject.

Line drawing contour settings..

Hatching Settings

Hatching is the zig-zag, crossed lines that fill the white space in the sketch. It creates a shading effect, with dark areas having more hatching to create shadows.

You can adjust the look of the hatching to your liking! By increasing the edge strength, you will again emphasize shading at the borders, leaving space in your photo.

You can also adjust mid-tone intensity here, deciding whether areas with moderate light – not too dark nor too bright – are also given the shading effect.

Hatching settings..

Colourization settings

This is the most fun option to use!

On enabling the colorization setting, you can decide whether you want the result to be a black-and-white or have some color. Line Art software even lets you decide which color is used for transforming photos into beautiful masterpieces.

Line drawing colorize settings..

Save image

Click on the Run option at the bottom right to start.

Once you are satisfied with how the strokes and shading appear, click Save File at the toolbar on top to save the finished image.

Photo to drawing result..

Sketch Drawer Sketch Drawer

Turn your photos into gorgeous pencil drawings with Sketch Drawer photo to sketch converter software! Making sketches has never been easier!

 Download for Free

Video Tutorials

Pros:

Specialized for photo-to-line art conversion

User-friendly interfaces designed for the task

Often offer a wider range of presets and customization options

Batch processing capabilities for efficient workflow

Cons:

Can be more expensive than online tools or mobile apps

May have a steeper learning curve compared to simpler tools

Best for

Users who frequently convert photos to line art, require advanced features, and prioritize efficiency and customization.

🔬 My experience

I tested Sketch Drawer and many other photo to drawing apps. And here is my analysis:
👍 Strengths of SoftOrbits software:

  • Dedicated and specialized tool: As someone who values focused solutions, I appreciate that it is designed specifically for converting photos into nice sketches, making it an suitable tool for this task.
  • Simple interface: One of the key strengths for me is the straightforward and intuitive interface. Despite my limited digital art or photo editing experience, I find the software accessible and easy to navigate.
  • Customizable settings: What I really like is the ability to adjust various settings, such as line thickness, style, and intensity. This allows me to achieve the desired look for my works, tailoring them to my preferences.
  • Batch processing capabilities: As someone who often works with multiple files at once, I find the batch processing capabilities to be incredibly useful. Being able to process multiple photos simultaneously saves me a significant amount of time and effort.

🤔 Cons and Limitations of SoftOrbits Sketch Drawer:

  • Limited advanced editing features: While SoftOrbits app lacks advanced editing capabilities found in more comprehensive image editing software. I cannot make detailed adjustments or selectively edit specific areas.
  • Limited file format support: While the software supports common image formats like JPEG, PNG, and BMP, it may not handle less common or proprietary file formats. This could be a limitation for those working with a wider range of image file types like RAW files or iPhone HEIC format.

🌟 When it might be the best choice for me:

  • I need a dedicated and user-friendly tool specifically designed for photo-to-art conversion.
  • I require customizable settings and batch processing capabilities for an efficient workflow.
  • I prefer a standalone software solution over online tools or mobile apps.
  • I don't require advanced editing features or non-destructive editing.
When I might consider alternate methods:
  • I prefer the convenience of online tools for occasional or one-off conversions.
  • I already have Adobe Photoshop and am comfortable with its advanced editing capabilities.

How to turn photo into line drawing?

With the help of modern technology [1] and a few techniques [2], you will see that many free online programs allow you to create a realistic sketch within a few minutes! No need to worry about hours of practice, torn pages, and spending money on professionals.
A line drawing is a simplified representation of an image, focusing on its essential contours and shapes. It's a versatile technique used in various fields, from art and design to engineering and architecture.

How Does It Work? Turning a photo into a line drawing involves several steps:

Image Preprocessing

The original image is often subjected to adjustments like contrast enhancement or noise reduction to improve the quality of the lines.

Edge Detection

Algorithms like the Canny edge detector are used to identify the boundaries between different regions in the image.

Line Extraction

The detected edges are refined and simplified to create clean lines. Thinning algorithms can be employed to reduce the width of thick lines.

Line Rendering

The extracted lines are rendered onto a digital canvas, often using vector graphics for scalability and precision.

While the technical process is important, the artistic aspect of line drawing is equally crucial. The choice of line style (e.g., realistic, cartoonish), line width, and line density can significantly impact the overall appearance of the drawing.

Popular Software Tools

  • Adobe Illustrator: A versatile vector graphics editor with powerful tracing and drawing features.
  • GIMP: A free and open-source image editor with a variety of plugins for line drawing.
  • Krita: Another free and open-source digital painting program with a strong community and extensive features.

Way #2: Using online tools

Many online photo to sketch makers are available, too, for free. Here are the best ones I've found.

At SoftOrbits, our goal is to deliver accurate and trustworthy information.

  • We pick products for reviews based on what people like and what is popular.

  • Our testing phase focuses on spotlighting the prime features of a product and identifying its most suitable software.

  • User reviews from top sites guide us in crafting our product reviews.

  • We gather feedback from our users, understanding their thoughts on SoftOrbits software and other products.

ONLINE.CO

Pencil Sketch Your Photo..

Online.co is the first of the list because you don't have to make any adjustments. This tool is very user-friendly, and all you have to do is upload your photo and click on Pencil Sketch!
The program automatically detects and processes image elements, reducing the need for manual adjustments. It can also create various artistic effects, such as stencils and anime-style drawings.

LunaPic

Lunatic..

LunaPic is a full-featured line art app with many options like photo blending, collage-making, color drawing filters, etc. One of these options is Photo to Illustration, which also has a color version.
After turning on this online program, upload your file using the option in the toolbar. Once the upload is finished, you can click on the Effects button and choose the type of sketch with a white background. Apart from B&W Effect, you can use Colour Pencil Generator or Surreal Painting or Charcoal!
The program will directly start the conversion and have the result in a few minutes.

Snapstouch

Snapstouch..

Snapstouch is another free app, where all you have to do is upload the file and select the pencil color. It does not offer many adjustments, but you can use a red, blue, or green or a combination of any two of these colors.

Online Tools VS Sketch Drawer

Now, let’s talk about those online photo-to-sketch tools. They’re like the overenthusiastic amateur artists at a neighborhood fair—eager but a tad clumsy. Their sketches? Sketch Drawer often produces more detailed and realistic line art compared to online tools.
Sketch Drawer can produce detailed and realistic line art. Online tools may be less versatile and offer fewer customization options.

Pros:

Free or low-cost options

Easy to use, often requiring minimal technical knowledge

No installation necessary

Cons:

Limited features and customization compared to dedicated software

May have ads or watermarks

Dependent on internet connection

Best for

Occasional users who don't need extensive features or advanced editing capabilities.

Way #3: Using Adobe Photoshop

Photoshop line art tutorial

In case you are already familiar with Photoshop, you can follow these steps and convert an image into sketch [4] on your own.

Change the image to grayscale

First, remove all colors by reducing saturation or clicking Image > Mode > Grayscale from the Photoshop toolbar.

Photoshop make photo grayscale..

Duplicate layer

Create a copy of the layer by dragging it into the New Layer. You will now have the original background and a background copy layer.

Photoshop duplicate layer..

Invert layer

Go to Image > Adjustments > Invert. This will reverse the lighting in the image, making the bright areas dark and dark areas bright.

Photoshop invert photo..

Color Dodge

Click on the Layers panel. You should see the Blend Mode as Normal. Change this to Colour Dodge. This will turn your photo almost completely white!

Photoshop colour dodge..

Apply Gaussian Blur

From the dropdown menu in the toolbar, click the Filter > Blur > Gaussian Blur. Keep adjusting the slider until you are happy with the effect. You should also adjust the radius size to change the thickness of the lines. A lower radius creates a more pencil-like effect!

Photoshop gaussian black and white line drawing from photo..


Photoshop gaussian color line drawing from photo..

Adjust thickness if needed

For a simple conversion, Step 5 is all you need! But if you want to create a thicker outlines, you must duplicate your original layer again and keep it on top as the 3rd layer.

Now, choose Filter > Filter Gallery'>Filter > Filter Gallery. Here, you will see a Stylize option, under which there is a Glowing Edge option. Adjust the edge thickness and edge brightness as you wish!

You will see bolder lines in your final result by slightly increasing the width and reducing the brightness.

Photoshop black line drawing from photo..

Save it

That's it! It would help to have a nice illustration of your photo ready.

There are many other options under the Filters tab, like Torn Edges, which you can try to add more effects and shades in your final result.

How it is in compare to Sketch Drawer?

Photoshop requires manual adjustment of multiple parameters to achieve desired line art effects. SoftOrbits tool automates the conversion process with preset algorithms. Users input minimal commands to generate line art output.

Pros:

Powerful and versatile image editing software

Wide range of tools and features for advanced customization

Non-destructive editing

Cons:

Steep learning curve for beginners

Can be expensive

Requires a computer with sufficient resources

Best for

Users who already have Photoshop or are comfortable with complex software and need advanced editing capabilities.

Way #4: Best Apps to Convert Photo to Line Drawing

Most of my family photos and selfies are store at smartphone or Cloud account. This is why it is great to have apps handy for quickly converting images into sketches. Here is my TOP of that apps... But they are still produce too simple results in compare to Sketch Drawer.

Photo Sketch Maker

Photo sketch maker..

Get this app to turn any picture in your phone into a AI sketch. Apart from the usual black and white, you can choose from effects like colored pencils, oil painting, and hard pencils.
Once the chosen effect is applied, you can add drawing effects, crop it, or directly share it with your friends!

Optoreal

Optoreal Sketch app..

The Optoreal Sketcher is a free app available for Android smartphones. It gives options like cartoon camera options, color effects, and even cartoon-style effects. You can also shift colors in the sketch and turn it red, blue, or green like a hip-hop album cover!
All you have to do is choose a photo from your phone gallery and get started.

Pencil Photo Sketch Editor

Photo Sketch Editor app..

This app is yet another user-friendly program that lets you turn any image into a creative work. The advantage of this app is that it offers 10+ more presets than the ones we discussed earlier!
You can convert your photo into a cartoon poster or use crayon, wax effects, and pop-art style presets.

Enlight Photofox

Enlight Photofox is a modern app that allows you to convert photo to sketch. This app offers a wide range of artistic filters. Adjusts color, tone, and saturation, and adds artistic filters and realistic effects. One of the cool features is its sketch effects.

Are they good in compare to Sketch Drawer?

In the enchanted realm of mobile apps, these converters are like overeager art apprentices—they try their best, but alas, their strokes lack finesse. Their arts resemble a doodle by a caffeinated squirrel rather than a masterpiece.
Now, enter Sketch Drawer! With a wave of its digital wand, it conjures realistic sketches that make your pics look like they’ve attended Hogwarts.

Harry Potter Pencil Sketch..
Harry Potter source photo..

When selecting a tool for photo-to-line art conversion, consider your specific needs and technical skills. Mobile apps offer a convenient and accessible option for basic conversions. For more advanced features and customization, dedicated software like SoftOrbits can be a powerful choice.

Pros:

Convenient for on-the-go editing

Often free or low-cost

Easy to use with intuitive interfaces

Cons:

Limited features compared to desktop software

May have lower image quality or resolution

Storage limitations on mobile devices

Best for

Users who primarily use their smartphones for editing and don't require extensive features.

Comparison of Photo-to-Line Art Methods


MethodProsConsBest for
Online ToolsFree or low-cost, easy to use, no installationLimited features, dependent on internet connection, may have ads or watermarksOccasional users, beginners
PhotoshopPowerful, versatile, non-destructive editing, wide range of filters and effectsExpensive, steep learning curve, requires a subscription or one-time purchaseAdvanced users, complex edits
Mobile AppsConvenient, easy to use, free or low-cost, thousands of apps availableLimited features, lower image quality, may have in-app purchasesOn-the-go editing, occasional use
Dedicated Software (e.g., Sketch Drawer)Specialized, user-friendly, advanced features, batch processing, up to 100 photos per batchCan be expensive, steeper learning curve, limited to specific devicesFrequent users, efficiency, customization

Choosing the Right Method

When deciding which method to use for converting your photos to line drawings, consider the following factors:

✔️ Frequency of use

If you'll be processing photos often, investing in specialized software might be worthwhile.

✔️ Required quality

For professional work, desktop software like Photoshop or specialized tools may offer better results.

✔️ Budget

Consider free online tools or mobile apps if you're on a tight budget.

✔️ Technical skill

Choose user-friendly options like online tools or mobile apps if you're a beginner.

✔️ Customization needs

For extensive control over the final result, opt for desktop software or specialized tools.

Converting photos to line drawings can add a unique artistic touch to your images. Whether you choose specialized software, online tools, Photoshop, or mobile apps, each method has its strengths and weaknesses. By considering your specific needs, budget, and skill level, you can select the best approach for your photo-to-line art conversions.
Remember, the best tool is the one that fits your workflow and produces results you're happy with. Don't be afraid to experiment with different methods to find the perfect fit for your artistic vision.

Things to Consider When Choosing a Photo for Line Art Conversion

  • High-resolution images produce better quality line art.
  • Clear, sharp images with good contrast are ideal.
  • Simple subjects with clean lines often work best.
  • Photos with strong outlines and defined shapes are easier to convert.
  • Good lighting can enhance the details and contrast in your photo.
  • Avoid photos with harsh shadows or overexposure.
  • While black and white photos are a classic choice, colored photos can also be converted to line art with interesting effects.
  • Consider the color palette and how it might translate to line art.

My favorit Sketch Artworks: Ben Heine Gallery

Ben Heine 1Ben Heine 2Ben Heine 3Ben Heine 4Ben Heine 5

📙 References

  1. Wang L., Sindagi V., Patel V. High-quality facial synthesis using multi-adversarial networks //2018 13th IEEE international conference on automatic face & gesture recognition (FG 2018). – IEEE, 2018. – С. 83-90.
  2. Wang X., Tang X. Face synthesis and recognition //IEEE transactions on pattern analysis and machine intelligence. – 2008. – Т. 31. – №. 11. – С. 1955-1967.
  3. Leggitt J. Shortcuts: Developing quick drawing skills using today's technology. – John Wiley & Sons, 2015.
  4. Werner O., Clark L. Short Take 26: Ethnographic Photographs //CAM Journal. – 1998. – Т. 10. – №. 3. – С. 54-56.
Sketch Drawer Sketch Drawer
How can I turn a photo into a line drawing? Download JPG to line art converter software for offline use!
 Download for Free


🙋Frequently Asked Questions

You can check out a few videos on YouTube or go through a few blogs to understand the process.

Like Photoshop, GIMP allows you to use layers and Gaussian blur effects to create a sketches from artist hand-drawn masterpies. The GIMP organization has a tutorial for this!

In some cases, it produces a single-line drawing, but it does not have a dedicated preset.

The color depth of a JPEG image is typically 24 bits, allowing for 16.7 million colors.

Higher resolution images provide more detail for the algorithm to work with, resulting in potentially more accurate and detailed.

A Gaussian blur filter is used to smooth images by blurring pixels together, often as a preprocessing step before edge detection.

A median filter replaces each pixel with the median value of its neighboring pixels, while a mean filter replaces it with the average. Median filters are often better at preserving edges.

Vectors are scalable without loss of quality, making them ideal for creating drawings that can be resized to any dimension.

A realistic style aims to mimic the appearance of a photograph, while a cartoonish style uses simplified shapes and exaggerated features.

Thicker lines can give a drawing a bolder, more graphic appearance, while thinner lines can create a more delicate and detailed look.

A contour line defines the outer edges of a shape, while hatching lines are used to create shading and texture.

Applying more pressure to a pencil will create a thicker, darker line, while less pressure will result in a thinner, lighter line.